The Work Continues...

Changes to the Cooling System

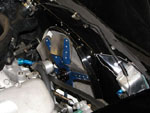
One of the first changes we made was to the cooling system. Originally, we had installed an electric fan. Then we added a second electric fan.

Fabricated fan shroud

Fabricated fan shroud

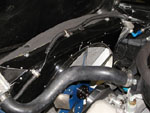
This was still not doing the job. So we went back to a mechanical fan and fabricated a shroud to direct the air flow.

The temperature dropped 40 degrees and we haven't had a problem, even in rush hour traffic.

Mechanical Fan

Mechanical Fan

The Keisler TK-II 5-Speed Transmission

We ordered a new transmission; a Keisler TKO II, 5-spd, so we will have a better 1st gear to make it easier to get the car rolling and a high gear for cruising down the highway.

Keisler TKO II, 5-speed

Keisler TKO II, 5-speed

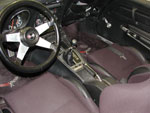
Installed, the shifter looks stock.

Installed, the shifter looks stock.

Van Steel Rear Suspension (2004)

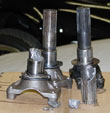
We had two problems with the car...handling and yokes breaking.

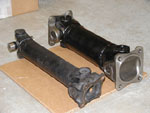
Broken and twisted yokes

Broken and twisted yokes

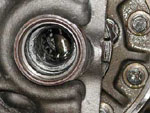
Damaged bearing due to yoke breaking

Damaged bearing due to yoke breaking.

Handling problems seemed to be related to an improper spring balance, however, we are also using different alignments to correct
a bad over-steer (loose) problem (just about the opposite of what I was expecting).

As far as the yokes, we decided to put in a Van Steel set-up.

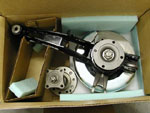
We received our trailing arm assembly back from Van Steel with new, heavy-duty yokes and driven plates installed. Included were the super-sized half-shafts.

Trailing arm back from Van Steel

Trailing arm back from Van Steel

Comparison of original and Van Steel axles

Comparison of original and Van Steel axles

Van Steel Yoke installed, old yoke for comparison

Van Steel Yoke installed, old yoke for comparison

Original half-shaft next to the Van Steel half-shaft

Original half-shaft next to the Van Steel half-shaft

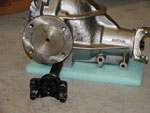
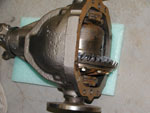
Diff with heavy duty yokes installed

Diff with heavy duty yokes installed

In order to install and be able remove the differential (if necessary), we cut and re-bonded sections of the jack compartment and battery box areas.

Right side cut

Right side cut

Another view of the right side

Another view of the right side

Left side cut

Left side cut

Another view of the left side

Another view of the left side

Center shot of the differential

Center shot of the differential

Left half-shaft installed

Left half-shaft installed

Right half-shaft installed

Right half-shaft installed

Left rear brake assy & half-shaft w/ 1/2" wheel studs

Left rear brake assy & half-shaft w/ 1/2" wheel studs

Drive-shaft fitted into place

Drive-shaft fitted into place

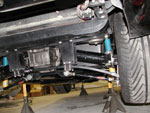
TStrut-rod assembly

Strut-rod assembly

Another view of the strut-rod assembly

Another view of the strut-rod assembly

Rear spring shot

Rear spring shot

Spring assembly

Spring assembly

Parking brake cable

Clearances were tight, but adequate.  Rear view of the relocated brake cable pulley.

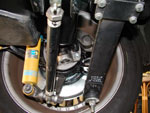
NOTE: The close clearance between the shock and the spindle flange. This would cause problems when the car was at ride height.

The interference between the shock and the flange was solved by welding in a 1/2" thick ellipse between the lower shock mount and the trailing arm mount.

The Brake Upgrade (2006) -- In 2012 we changed the front brakes again

To balance out the car's acceleration, we needed to improve the brakes. The first priority was to get rid of the iron calipers.

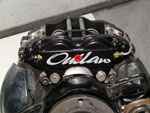
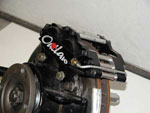
We choose to go with Outlaw calipers. They are a great bargain when you balance capability with cost. But, virtually no calipers bolt into the stock mounts on a C3.

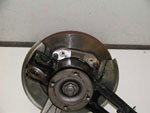
We worked on the rear setup first. These are pictures of the adapter mount used to change to the more universal 3-1/2" bolt pattern

There are many calipers that will fit this particular bolt pattern. These are the stock diameter rotors.

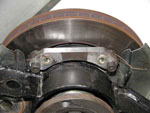
Close up photo of our caliper adapter

Close up photo of our caliper adapter

Trailing arm assembly with adapter

Trailing arm assembly with adapter

Notice the washers safety wired to the adaptor. These allow for precise alignment when centering the caliper.

A view of the thickness of the adapter

A view of the thickness of the adapter

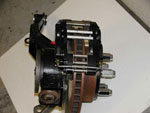
Outlaw caliper mock-up

With the caliper temporarily mounted you can see both bolt patterns.

3 qtr view of caliper mock-up

3 qtr view of caliper mock-up

view showing alignment of caliper to rotor

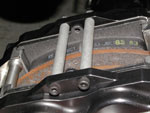
In this picture you can see the open design of the Outlaw 4000 caliper.

LR Brake Assy

Another advantage of using the after-market calipers is the differential piston sizes contained in the calipers.

We are using perfomance friction pads

We are using perfomance friction pads

RR Caliper Installed

Right rear caliper installed

We will be using flexible stainless steel brake lines between the stock block connector and the calipers. On the fronts we are going with a larger diameter disk.

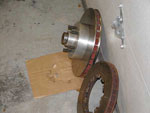
The new rotor has directional vanes

Here is the new disk next to the old 12" disk. The new rotor has directional vanes.

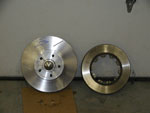
A comparison view of old and new front rotors

A comparison view of old and new front rotors

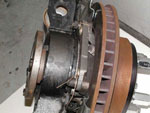
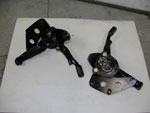
In order to mount the new calipers, we had to fabricate new brackets, which were bolted to the spindles using the original bolt holes.

New front caliper bracket bolted on spindles

New front caliper bracket bolted on spindles

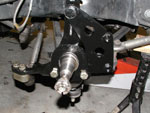
Spindle with caliper bracket mounted on the car

Spindle with caliper bracket mounted on the car

The new front disks are gas slotted, heat treated, balanced and, oh yeah, they float! We are always sure to safety wire everything.

Brake assembly mock-u

Brake assembly mock-u

Installed and safety wired

Installed and safety wired

Pads installed

The brake pads are installed. We had to buy some special fittings to hook up the brake lines.

New brake line setu

New brake line setu

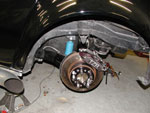
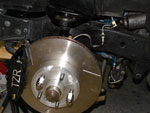
The new rotors fill the wheel opening nicely! After bleeding the brakes, we took a short test drive & this setup is awesome! Seat belts are definitely mandatory now.  (03-13-2006)

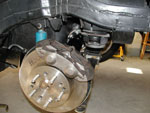
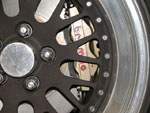
A close up shot of the new front rotor and caliper

A close up shot of the new front rotor and caliper

A look at the new rotors from a short distance

A look at the new rotors from a short distance.

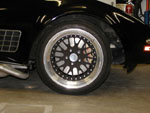
Rear brake assy with wheel mounted

Rear brake assy with wheel mounted

The Accusump Installation (2007)

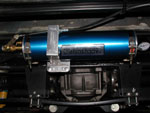
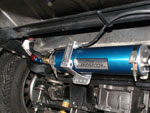
For track days, we needed to add an accusump to keep oil pressure in the engine. It's a 3 qt system with a manual valve control.

The system is charged and holding approx. 70# of oil pressure.

Accusump bolted to rear cross-member

Accusump bolted to rear cross-member

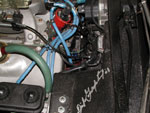
-10 hose from valve toward engine

-10 hose from valve toward engine

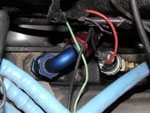
Fitting at rear of Dart Block

The accusump is plumbed into the rear of the Dart big block.

Oil inlet at the back of the block

Oil inlet at the back of the block

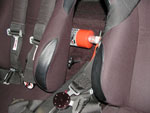
Accusump Valve Control Handle

We put the valve control handle between the seats. When the oil system is on, the handle is pushed in & out of the way.

Brembo Front Brake Upgrade (2012)

Even though the Outlaw brakes were an improvement, we were still not satisfied with the braking performance of the car.

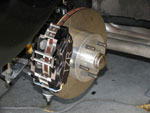
We switched to a set of Brembo racing calipers, with a much larger pad area. Since the Brembo's were radial mount, it required a new mounting system.

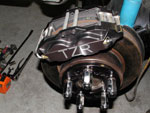
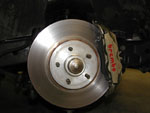
3/4 view of rotor and Brembo caliper

A 3/4 view of rotor and Brembo caliper

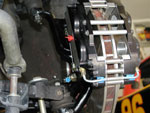
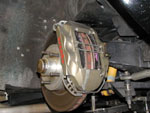
View of new installed Brembo brake calipers

Side view of rotor and Brembo caliper

TEXT

View of new installed Brembo brake calipers

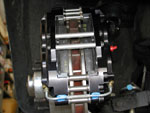
Close-up of installed Brembo brake

Close-up of installed Brembo brake

Dual Brake Master Cylinder Installation (2012)

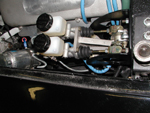
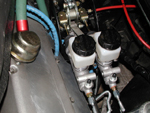
To get a better balanced braking system, we installed a dual master cylinder setup. Of course, with nothing available,
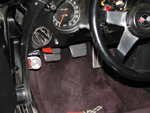
we had to design and fabricate another pedal assembly to fit.

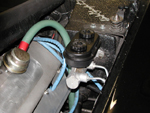
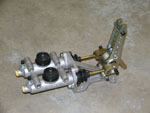
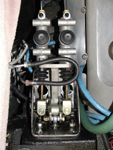
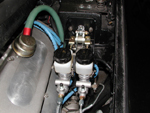
Tandem master cylinder

The tandem master cylinder setup.

TEXT

The Coleman pedal setup as purchased.

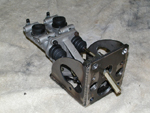
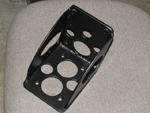
Bracket mock-up

Mounting bracket and modified pedal assembly mock-up.

Bracket on firewall

Mounting bracket fitted to firewall.

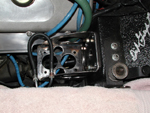
Master Assy bolted on firewall

Master assembly bolted to firewall.

Pedal heim installed

New pedal rod linkage

Powder coated bracket

We powder coated the mounting bracket.

Brake lines fitted

The reservoirs and new brake lines are installed.

Heim joint pedal pivot attachment

Heim joint pedal pivot attachment

Bias adjuster cable attached

Bias adjuster cable attached

Bias povot adjuster knob

Bias pivot adjuster knob

The system now takes full advantage of the large brake disks & new pad area.

Back to top of page