The Work Begins...
This poor car was too far gone to be restored and deserved to be rebuilt from the frame up.(August, 2001)
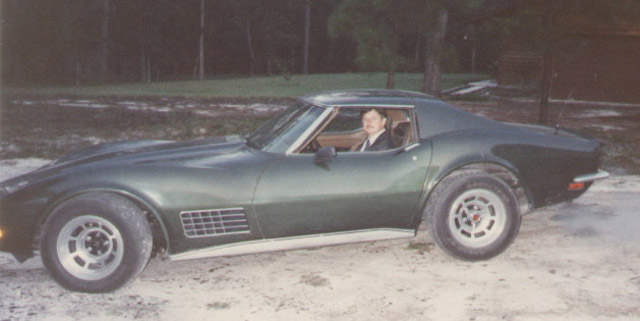
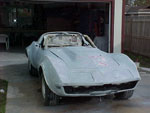
This is a picture of the car when we first brought it home.
Our plans were to model the car after the Greenwood or Owens-Corning road
race Corvettes.
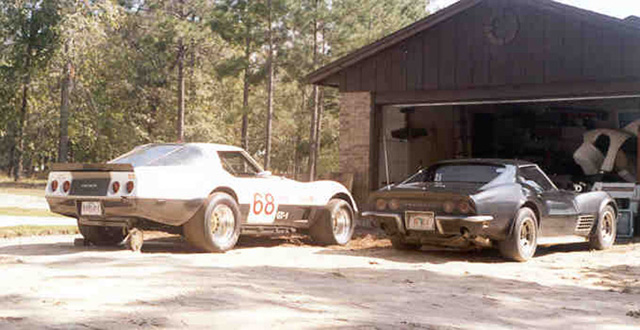
This is a picture of the car when we first brought it home.
We started by cutting the firewall apart from the rest of the body. Then we cut the door jambs out, and removed the rear bodywork from the cockpit frame.
The work begins
The motor is out
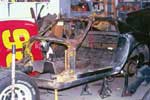
The front body work has been removed

The fire wall is out

The fire wall
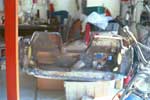
A blurry shot of the fire wall
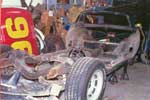
The cockpit frame has been removed
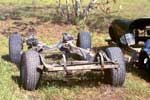
The old rolling chassis
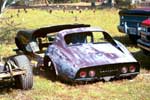
The bodywork
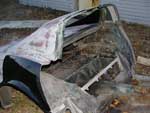
Inside the rear bodywork
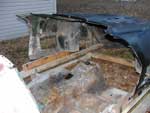
The floorpan and front fenders
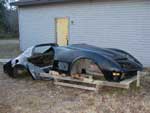
Bodywork looks better in this shot
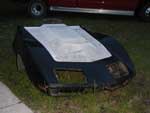
The new hood
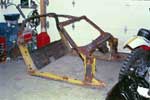
The rusty body framework
After a lot of welding and repair work the bodywork frame & chassis were powder coated. (November, 2001)
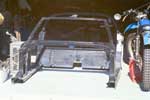
The bodywork frame after powder coating
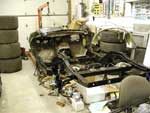
Time to start putting it back together
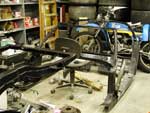
Where to begin?
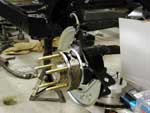
Rear hub & emergency brake assembly
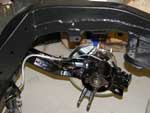
Inside trailing arm assembly
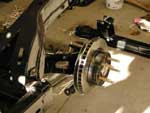
The rotors are on now
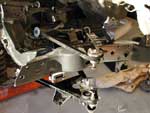
Upper and lower A-arms
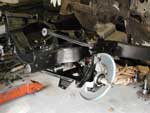
Attached spindle
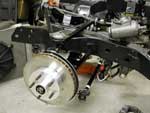
Left front brake rotor and hub assembly
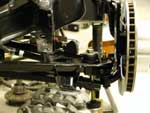
Trial fit of front spring assembly
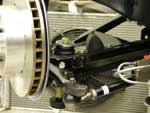
The steering linkage bolted on
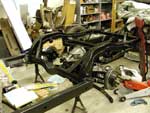
Installed differential
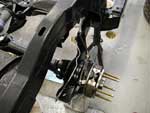
Half-shaft installed
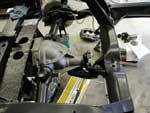
Differential assembly
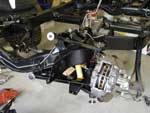
Front brake caliper
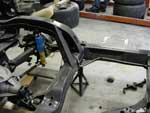
Rear Bilstien shock in place
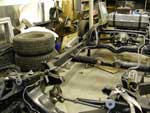
The brake and gas lines are on.

Differential assembly
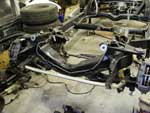
Front anti-sway bar on
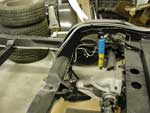
Shot of the rear brake and gas lines
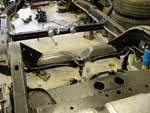
Shot of the frame assembly from the rear
In exchange for a pair of Hooker headers Chris McDonald agreed to help glue the body back onto the frame. (February, 2002)
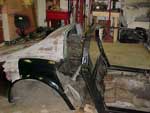
The frame is in place.
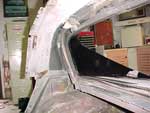
Inside the rear T-top area
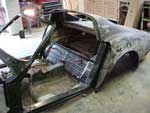
Final alignment
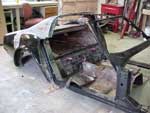
Roof glued to framework
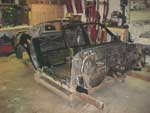
Firewall & rocker panel glassed back on
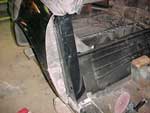
Rear panel riveted, fitting door jambs
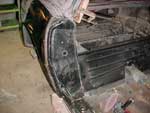
Door jambs glassed back in place
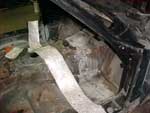
Glassing the firewall and the floorpan back together
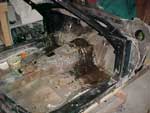
The resin is applied
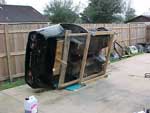
The bottom received a good cleaning
Chris put a lot of work into this. Next he tackled the rear flares.
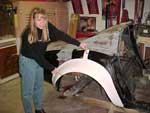
Nikki McDonald demonstrates how the flares will fit
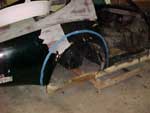
This is the cutting line
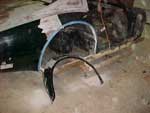
The excess has been trimmed away
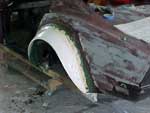
The flares go on
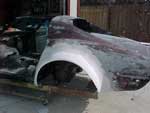
The bondo is applied.
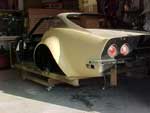
We applied some primer.
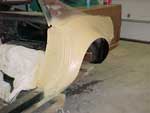
The flare will need some more fine sanding
It was starting to look like we might get it back together! We took it home to work on it some more.
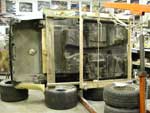
We tipped it up on some tires to keep it off the flares

The underside floorpan seam needs fiberglassing

The fiberglass repairs have been made
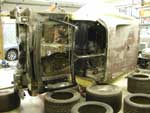
A view from the other side

We used the engine hoist to support it.
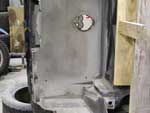
The underside, where the year was hand-written
A close up of the date 1-19-71
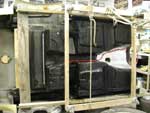
Heat sheild on the tunnel and a new battery cable
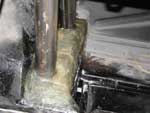
New metal cap on the rear body mount
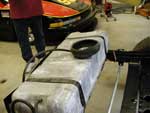
The gas tank
Finally we were ready to re-attach the body structure to the frame. (May, 2002)
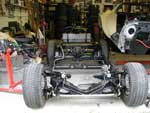
The frame before the body structure is attached
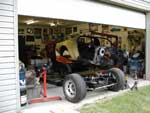
The body structure being moved into position
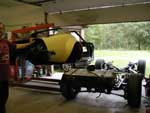
The body suspended from the hoist
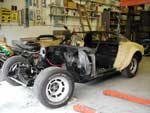
The body structure is on the frame!
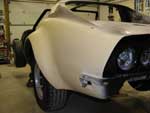
A shot of the rear flare
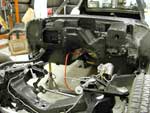
The firewall with the ac/heater hoses
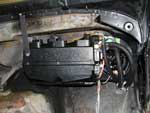
The Vintage Air ac/heater unit
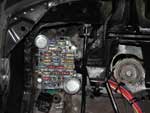
The Painless Wiring (yeah, right) circuit box
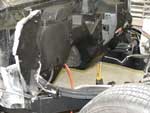
We blocked off the old heater & fan openings in the firewall
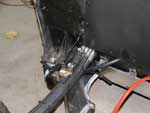
Heater/AC hoses
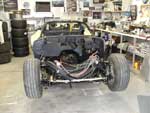
The engine wiring harness
To help keep the chassis from twisting and to have an anchor for the 5 point seat belts, we welded in a rear hoop. (July, 2002)
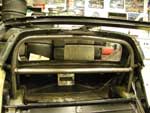
Rear hoop
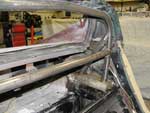
The triangulation of the hoop for strength
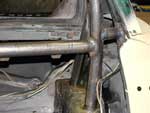
Weld joints on the hoop
I fiberglassed closed the hole we had to cut to do the welding.
View from the rear wheel-well showing where we welded the rear hoop to the frame
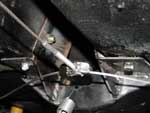
Seat belt anchor & driveshaft hoop
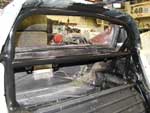
The rear hoop looks pretty good painted
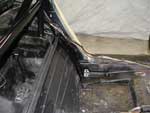
We welded in a seat mount/lap belt bracket
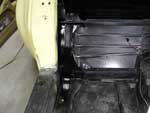
A front view of the seat bracket
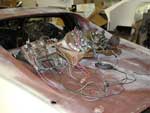
The instrument panel wiring project

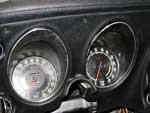
Close up of the gauge cluster
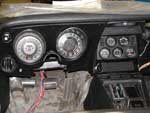
Instrument panel view
Close up of the tach and speedo
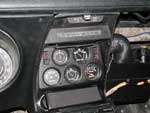
Instrument cluster installed with new CD player (covered)
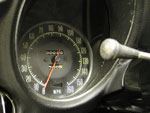
Repaired odometer set back to zero
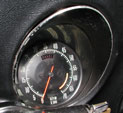
The tach just waiting to be red-lined
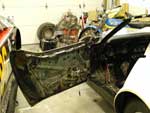
Doors are on the car
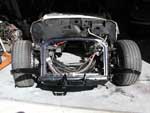
Radiator core support & bumper mounts
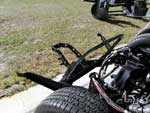
Another view of the bumper & radiator brackets
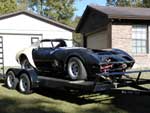
Headed back to Chris' shop to re-attach the nose
Now the real transformation begins. (November, 2002)
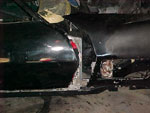
Checking fit of front clip before bonding to the firewall
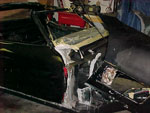
Attaching the fender bonding triangle to the firewall
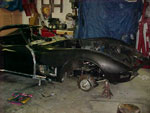
After several trial fittings, the front clip was bonded in place.
Then the work began on the front flares and the door seams. (December, 2002)
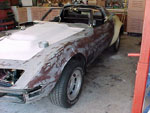
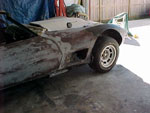
The driver side wheel opening is enlarged to fit new flare
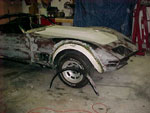
Passenger side wheel opening is trimmed in the same manner
The cut off piece next to the new flare
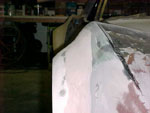
Bondo coating over chopped matte layup
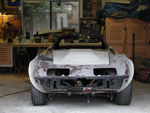
Front view with the new flares
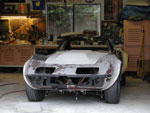
The lines of the front and rear flares look great
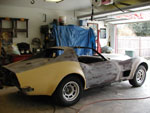
It's a whole car again!
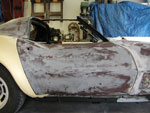
The 1st coat of primer is a fiberglass resin-based heavy filler primer.
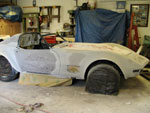
The biggest pain in the rear was getting rid of all the old red laquer primer.
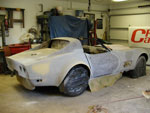
The rear filler panel is not installed yet
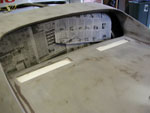
We filled in the openings under the rear grills.
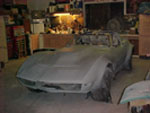
Just finished the first two nice wet coats of all over urethane primer.
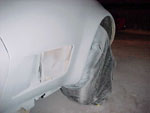
We had to convince these 68-69 style flares to blend into the '71 body.
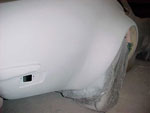
The back side of the right rear flare
Chris dusted a black guide coat on top. (December, 2002)
Then it was time to wet sand. Any of the guide coat that remained was a low spot & was filled with micro light body filler, sanded, primed, & re-sanded until perfect.
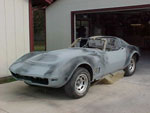
Next is.....you guessed it, wet sand, wet sand, wet sand....
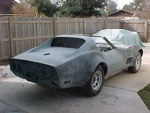
The rear filler panel is installed now
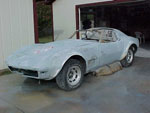
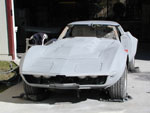
Here it is sanded down
Chris blocked the whole car in about 6 hours.
At last the final primer coat goes on.
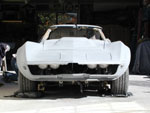
Looking better!
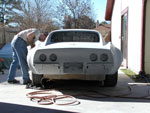
Chris continues to work on the car.
We put on a coat of 2 part black paint & 3 coats of clear. This was the 'rough' coat!
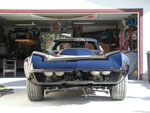
Look at the reflections in this 'rough' coat!
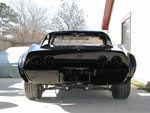
The old tires sure look little in the new flares.
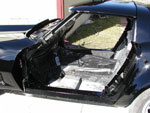
With the door jambs painted, we can mount the doors.
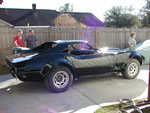
Chris & Dave critique the paint (or admire their reflections)
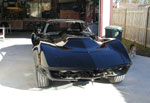
The black Shark pack is going to look awsome!
We will let the paint cure, do the fine sanding and get the motor in the car. Then we will shoot the final coat of black and clear.
Santa was good to us this year!
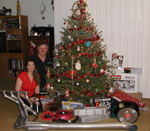
Isn't Christmas great?
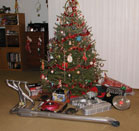
What dreams are made of
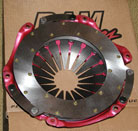
Light weight Ram pressure plate
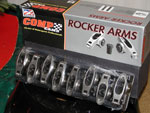
Steel roller rockers
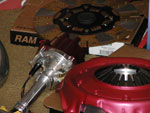
MSD tach drive distributor (billet)

Moroso oil pan with trap door and scrapper
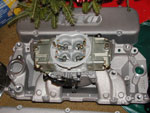
Modified Holley 850 double pumper on Edlebrock air-gap manifold

Anticipation!
Santa didn't get the big block to us until the 1st week in February. Guess that's our Valentine's Day gift to each other.
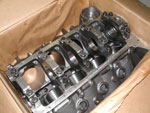
The "Big M" (M is for...)
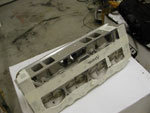
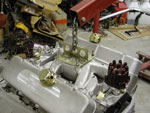
Dart cylinder head combustion chambers
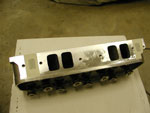
Intake ports
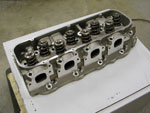
Exhaust ports
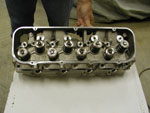
Valve springs
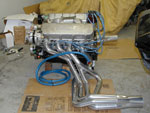
The Hooker headers are ceramic coated with crankcase pressure evacuators.
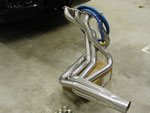
Ceramic coated Hooker header
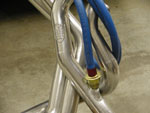
Hooker with pressure evacuator
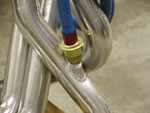
Close up of the welding on the evacuator
Our Vette did not come with AC, but living in Florida requires it!
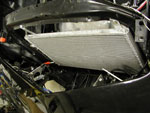
AC condenser
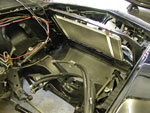
Aluminum ground effects pan
Chris installed the 'Killer' electric headlamp actuators.
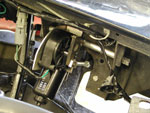
Electric headlight actuator motor
Fitting all the T-top trim pieces was a real pain. The windshield is in also. (March, 2003)
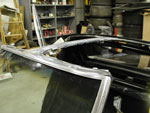
Installing T-top stainless trim
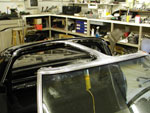
Passenger side
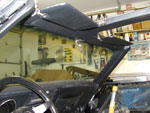
Visors and interior trim
The storage compartments, carpet & speakers for our new CD/MP3 player are installed.
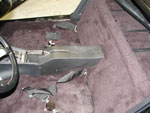
Lap belt mounts reinforced w/ driveshaft hoop
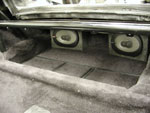
Lots of storage room!

Seat belts bolted to the rollbar
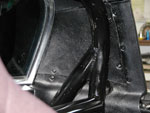
Interior panels mounted around the rollbar
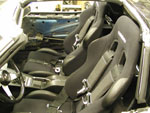
Corbeau seat & seat belts
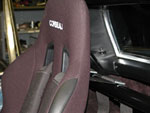
Seat belt mounts on roll bar
The interior is finally finished. (April, 2003)
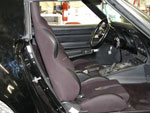
Interior shot
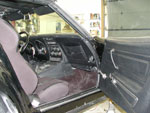
Door sill and interior door panel
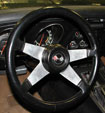
Zora Arkus-Duntov Signature Steering Wheel
The work continues under the hood.

Windshield wipers
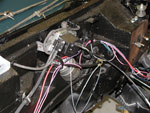
Wiper motor wiring
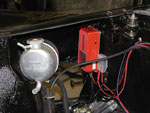
MSD box and water tank
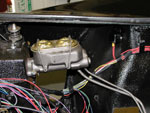
Brake master cylinder
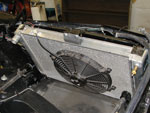
Radiator & fan
Big M is home! The dyno sheet is pretty impressive! Now we see how it all fits together. (April 24, 2003)
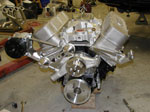
Checking the serpentine setup
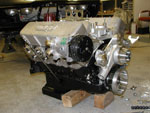
V-belt compressor will be replaced by a serpentine one
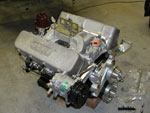
Water temp sensor & heater hose outlet installed
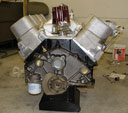
Rear view with oil pressure fitting
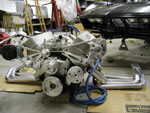
It's starting to look like a Powerbook cover shot.
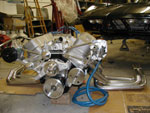
The Vette stands guard over its new powerplant.
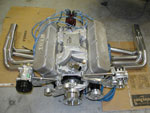
The headers look awesome!
The valve cover breather holes for the evac system are not cut yet.
Breathers are in the valve covers
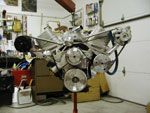
Okay, this belt fits
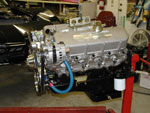
The line to the power steering reservoir & motor mounts are on...getting close!
We took the pan off to drill the hole for the temperature sender fitting.
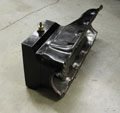
Temperature sender fitting
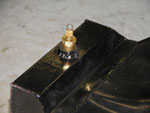
Close up of the temperature sensor fitting
1/2" braided fuel line will be used to feed Big M, so we had a 1/2" fuel pickup line made.
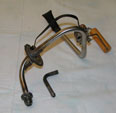
The new 1/2" fuel line next to the old 3/8" line.
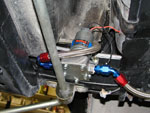
1/2" braided line to the Holley fuel pump
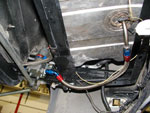
1/2" fuel line from the gas tank to the pump
Our custom made wheels are here! (May 02, 2003)
The CCW wheels are 18x10.5 fronts & 18x12 rears
The tires are radial Michelin Pilot Sports.
275x35x18 fronts & 345x35x18 rears
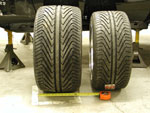
These ought to get the power to the gound
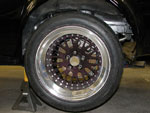
Trying a rear on for size.
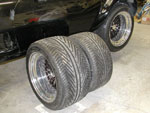
A 3/4 shot of the wheels and tires
Mother's Day seemed an appropriate day to place the Big M in the car. There's still a lot to do before we can start it up.
Before putting the motor in the car we checked the fit on all the components.
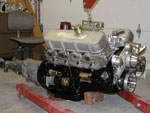
It's looking good!
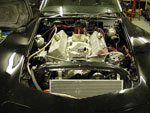
Not much space left up here!
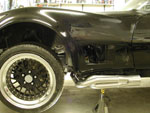
The headers were beaten into submission
A lot of 'manipulation' was involved in getting the headers fitted properly.
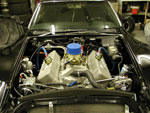
Front view of the engine compartment
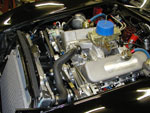
Can't wait to hear it rumble!
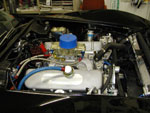
A view of the fuel lines
We missed Memorial Day, but now the car is on its feet ready to crank. (May 31, 2003)
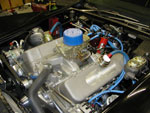
The plug wires are on....ready to start it up!
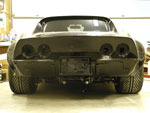
A shot of the rear tires
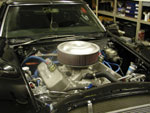
The 4" air cleaner may be too tall
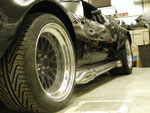
The side pipes have spiral baffles in them.
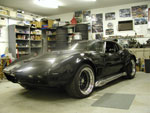
Checking the hood/air cleaner clearance
Click on the "Video" link at the top of the page to see video of the first start up.
1st time starting the car up. The side-pipes overwhelmed the camera microphone.
15 days until we are suppose to leave on the 50th Corvette Caravan! We have to get this baby dressed up.
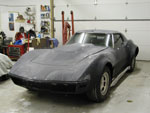
Fine sanding the car
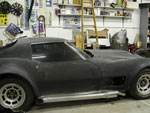
The stock wheels are on for the painting
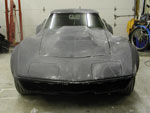
Still some more work to do
The painting is underway! When the clear coat was being sprayed we sneaked a peek. (June 12, 2003)
A peek into the paint booth

The beast lurks in the smokey shadows
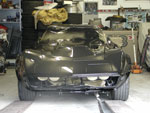
Unloading the car back at home
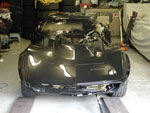
Lots of reflections!
The car has not been buffed out yet. That will have to wait until after the caravan trip.
Father's Day (6/15/03), we took our 1st drive up to Chris & Nikki McDonald's place.
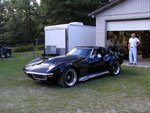
Dave's dad watches as he buckles up
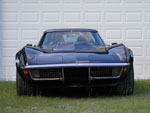
Front shot...ready to roll
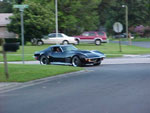
Rounding the corner at Chris & Nikki's
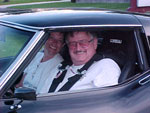
Yep! Got that silly grin all over our faces
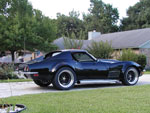
Side view of the car
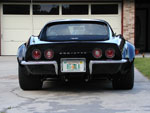
Rear shot of the car
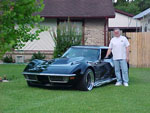
Dave next to his pride and joy
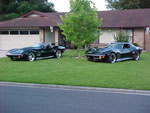
Twins...Killer (Chris' '69) and Bruiser


