The Tropic Zone Racing "HP Edition" Anglia...
Our "new" 1959 Anglia 105e gasser - 06/12/2006
As you may have already guessed, our Anglia will be just a little modified from the original specifications. We plan on playing with this car at test 'n tune nights and will keep it
street legal so we can attend cruise-ins around the area. It will probably get a new paint job...the lime green chassis has to go.
Here are some pictures of the car when we first brought it home.
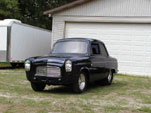
Front view as purchased
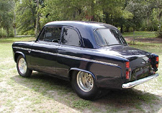
Rear quarter pic of the '59 Anglia
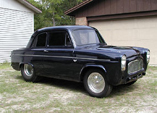
Front quarter pic
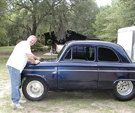
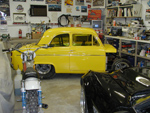
You can see how small the car really is.
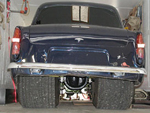
A rear pic of the car in the trailer
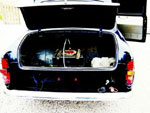
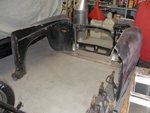
Inside view of the original trunk
From the outside the car didn't look too bad, but when you opened the doors the lime green chassis just didn't do it for us.
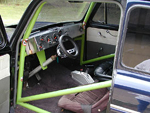
Front shot of the original interior & dash
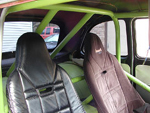
Rear picture of the original roll cage
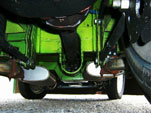
Bottom shot of the original chassis
As Dave started inspecting the car more closely, he discovered that there were many problems in the fabrication of the original chassis. First of all, it wasn't square. Also, the rear tires
rubbed. I won't go into the whole list of problems.
Once again, we trashed everything except the body and started over.
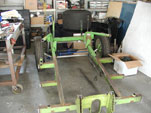
The remains of the original chassis
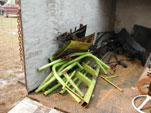
The remains of the original roll cage
Starting from the bottom up - 02/10/2007
We didn't have the proper equipment to build a new chassis, so we took the car to someone who did. After the old chassis was removed, the body went on the building fixture. We were starting from
scratch.
Due to its small size, this car would present some challenges. We wanted an NHRA legal chassis.
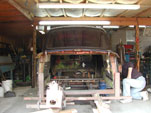
The body is on the building fixture.
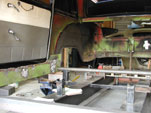
Getting started on the new chassis
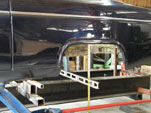
Setting the rear ride height
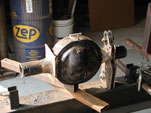
First challenge...the rear axle housing needed to be shortened before it was fitted into place.
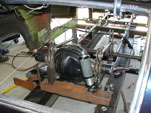
Fabricating the 4-link & chassis
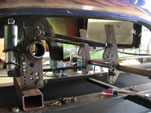
Side view of the 4-link installed
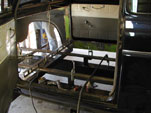
Setting body height to the main frame rails
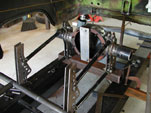
Setting the centerline
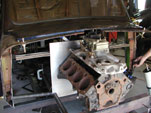
Setting up the rear engine mount plate"
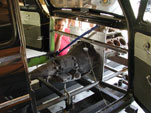
Interior view of rear engine mount plate
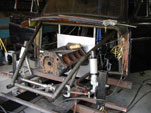
Front down tubes & strut mounts
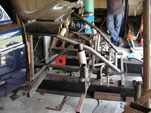
Side view of strut mount & rack and pinion
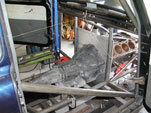
Door bars fitted in place

Main hoop and halo bar
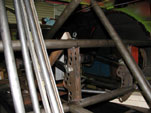
Interior view of 4-link mount
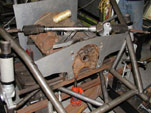
Front motor mount plate
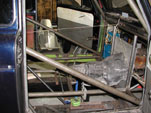
Interior pic of door bars
Halo bar mount
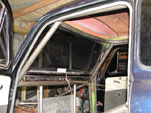
Inside front view of cage
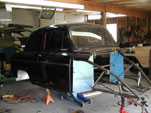
Sheet metal firewall
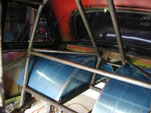
By August '07 we were ready to fit the rear tubs
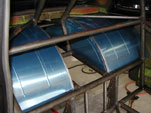
2nd shot of the rear tubs from inside
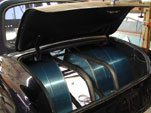
Pic of rear tubs from in the trunk
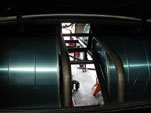
2nd pic of rear tubs from in the trunk
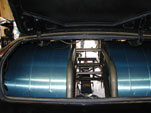
3rd shot of rear tubs from in the trunk

Door bars fitted in place
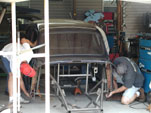
It was time to take the body off to make welding the cage easier
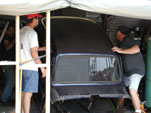
Taking the body off the chassis
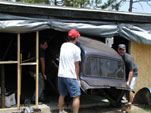
Four people can lift the body easily
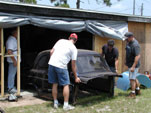
The body is off the chassis
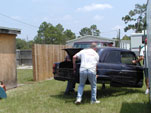
The body gets stored in the trailer
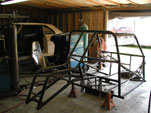
Rear shot of the bare chassis
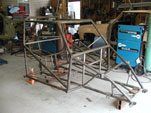
With the body off, it is easy to see the cage structure
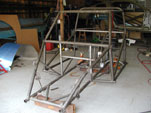
It's also easier to do the finish welding
Then it was time to bring the car back home and begin the engine and suspension setup.

Our American Torque Thrust wheels arrived. We wanted a retro looking wheel
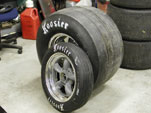
"Big & little" comparison

For fun, we lined up the mounted drag tires next to the road race slicks.
We started assembling components and doing mock-up assemblies to ensure everything would fit before coating the chassis.
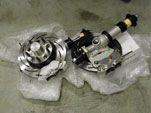
Front struts with brakes
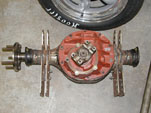
9" Ford rear after being cut
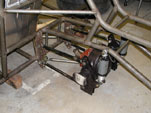
Assembled 4-link with differential
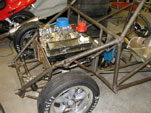
Mock up engine in place
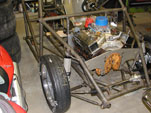
Rack & pinion installed
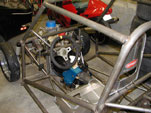
Transmission installed
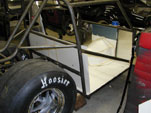
In Sept. '07, we were ready to make patterns for the interior using light-weight cardboard
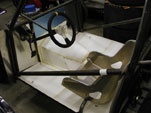
1st version brake pedal
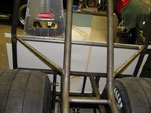
Rear view cardboard pattern
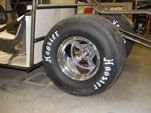
Hoosier DOT slicks
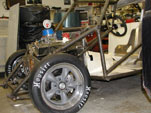
Front wheel view
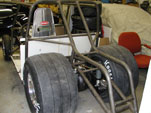
Rear view of the Hoosier DOT tires
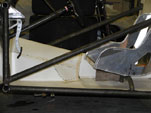
The brake pedal is too close to the seat and needed to be moved forward
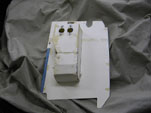
A new pattern was made for a pedal box
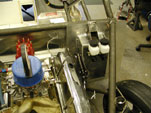
We did our first draft of the aluminum pedal box. It was redone later on to include space for the clutch pedal.
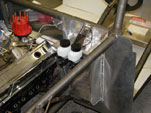
Front side shot of pedal box
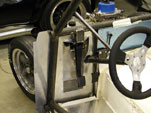
Interior view of the pedal box & assembly
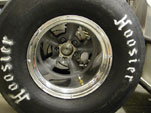
(Dec. '07) The brakes are installed
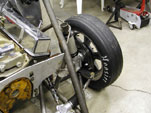
Left front brake rotor
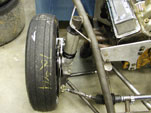
Right front brake assembly & heim joint washers for rack
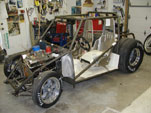
Overall shot of progress
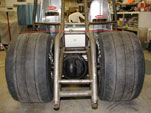
Rear shot of mounted wheels
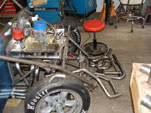
(Jan. '08) We took the car up to Jim Britts to have the headers fabricated.
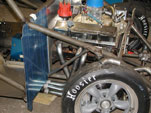
Fitting headers
Right side header tacked together
TStarting left side header
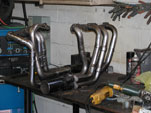
Shot of tacked headers
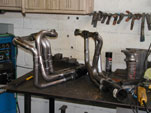
Headers ready for finish welding
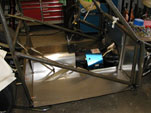
Jim also did some fabricating of the interior panels.
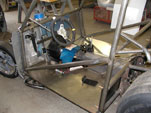
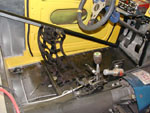
Driver's side floor
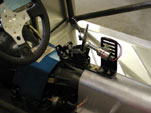
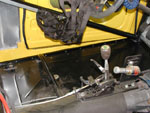
Close-up of shifter
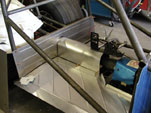
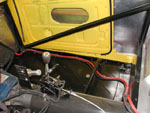
Shifter and interior panels
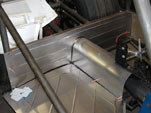
Interior panels with roller beading
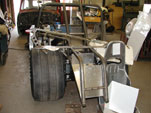
It was obvious that it would be necessary to fabricate a custom gas tank
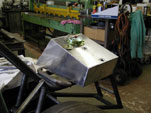
Fabricated gas tank
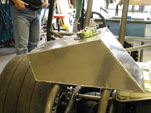
Great welding on the gas tank
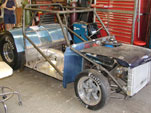
Fabrication work continues
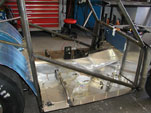
Jim did a great job fabricating the transmission
cover
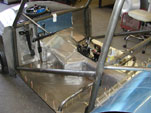
Left view of the transmission tunnel
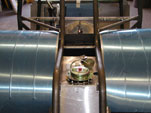
The gas tank, which holds 9.3 gallons, sits neatly between the frame with the tubs on either side.
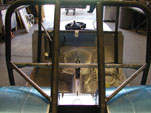
Interior shot from the rear with seat mount holes
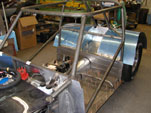
Clecos holding the interior panels

Jim Britts, the master fabricator/welder
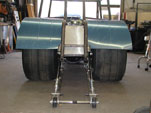
Fitting the wheelie bars into such a small space was a challenge. Later on, we shortened the wheelie bars
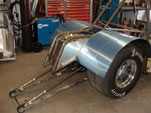
Side view of wheelie bars and trimmed tubs
(February, 2008) It was time to set the body back on the chassis so we could see how to mount the front bodywork
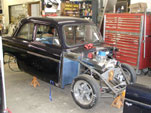
The body is back on chassis

Rear shot with body on chassis
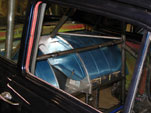
Interior wheel tub shot with body on chassis

Front view, some assembly required
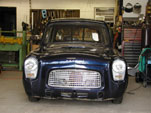
(Mar. '08) The front fenders are mounted on the body
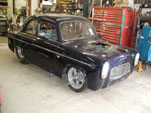
Side view, cool wheels!
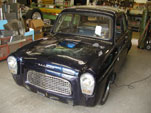
3-quarter view with complete body
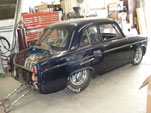
Rear 3/4 shot...neat lines
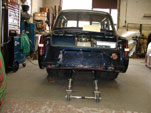
Car sitting on its own wheels and tires
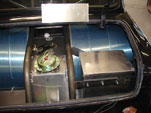
Jim also fabricated a battery box
We took the car back home and worked on brake lines and interior pieces

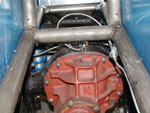
Steering rack & brake lines
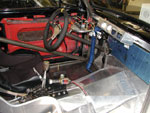
We fabricated a hatch to have access to the tranny. (May '08)
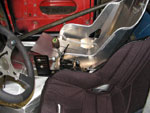
The shifter mechanism is mounted
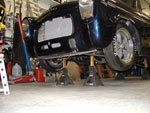
We fabricated a front spoiler to help keep the car on the ground and played around with hood scoop ideas.
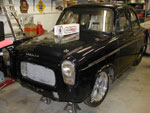
Trial hood scoop :)
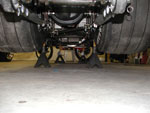
A shot under the car from the rear
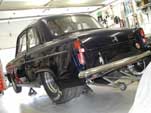
We shortened up the wheelie bars. (June, '08)
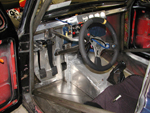
Brake master cylinder installed
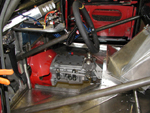
We are undecided on using the Powerglide or the Jericho transmission, so we're setting the car up for either.
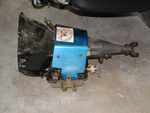
Powerglide transmission
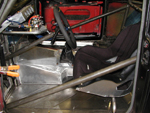
Jericho cover
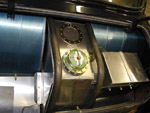
The trunk with the fuel tank & battery box
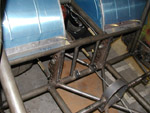
(May, '09) It is time to disassemble the car and powder coat the chassis.
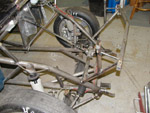
Rack & pinion
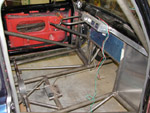
Going back to the bare bones
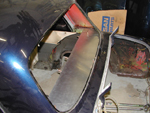
While waiting for the chassis, we fabricated a rear window deck.
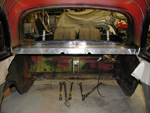
Rear window deck interior
The powder coating is complete! We powder coated the chassis a satin black. Now we can start the final build.
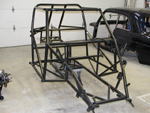
Powder coated chassis front qtr view
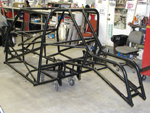
Powder coated chassis rear view
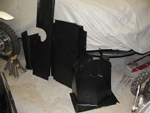
Powder coated interior pieces
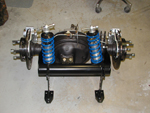
The rear diff with the wheelie bar mount
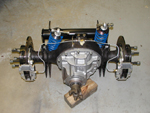
Rear diff front view
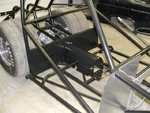
Rear, wheels & brakes are on
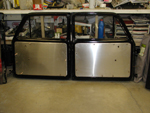
We fabricated some door panels out of aluminum
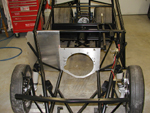
Front wheels & brakes are on
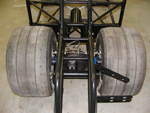
Rear chassis view
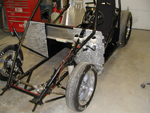
The firewall panels and brake lines were installed
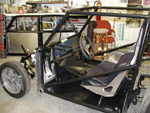
Then the floor pans and transmission tunnel were put in place
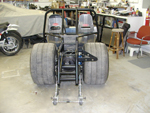
The wheelie bars were put on
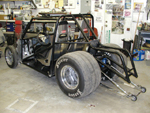
3 Qtr view
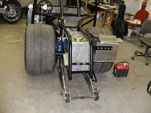
The gas tank and battery box were fitted into place
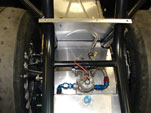
Fuel pump
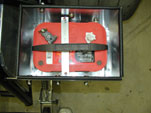
Inside the battery box
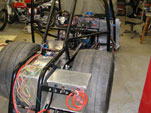
Battery cables
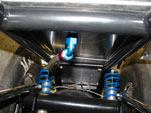
Fuel tank pickup
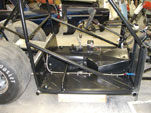
We installed the shifter, the power glide transmission and started running the gas line
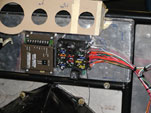
Gauge mock up, fuse box & shifter RPM switch
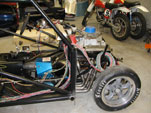
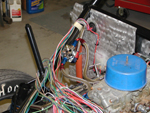
Routing wiring
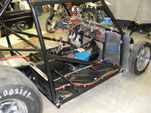
Starter battery cable & wire routing
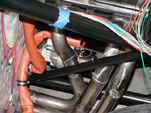
We put together an old engine block and parts to use as a mockup, so we could run the engine compartment wiring
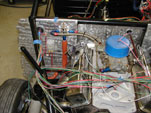
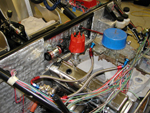
Carb fuel lines, fuel regulator, front wiring
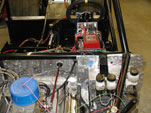
Throttle rod, MSD box mounted
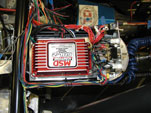
Close-up of MSD box wiring
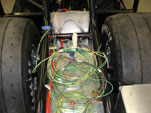
Tail light & brake light wiring...waiting
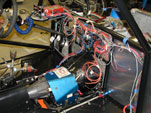
Interior wiring spagetti shot
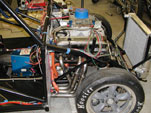
The radiator was mounted in place
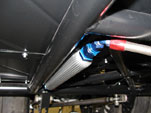
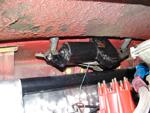
The transmission cooler was mounted under the car along-side a frame rail. Later in the build, we installed a "real" cooler instead
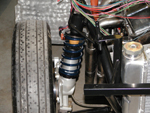
The Strange strut front suspension
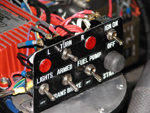
Our switch panel located in front of the steering wheel
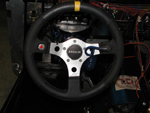
Sue made a cool Anglia decal to put on the steering wheel
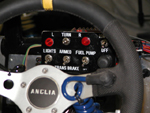
Switch panel located in front of the steering wheel
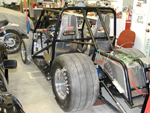
A 3-qtr pic of the build progress
The next step was to paint the interior of the body and get the headliner in it. Then we could get the body back on the chassis.
We wanted to keep the color as close to our first Anglia as possible and went with Ford Screaming Yellow.
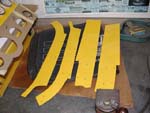
Painted interior trim pieces
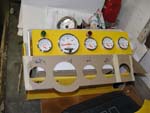
With the instruments temporarily set in place, the aluminum gauge panel looks great!
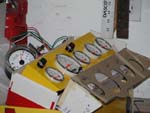
Side view of painted gauge panel

Painted aluminum interior rear deck panel
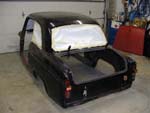
Time to paint! We taped the windows on the body and put it on some plastic in the front yard. (Sept., '09)
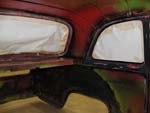
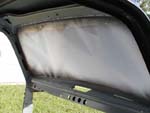
Taped side rear windows for painting
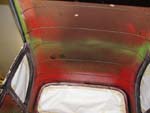
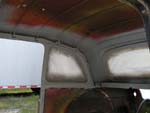
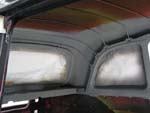
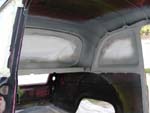
Interior of the roof before painting
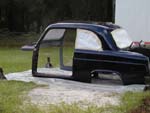
Body in yard ready for paint
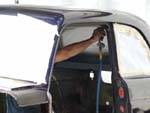
Allen Armstrong came out to the house to paint. The first coat was a gray primer.
Gray primer is on - RR qtr pic
Left rear qtr pic
Gray primer - front
The second coat was a white base coat to give the yellow a nice clean color
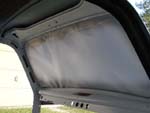
The white base coat on the front dash
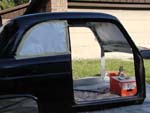
The white base coat on the interior
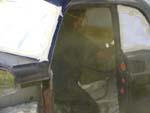
Then Allen started spraying the Screaming Yellow as we watched on
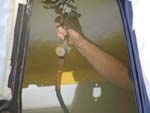
A peek at the Screaming Yellow in the sun
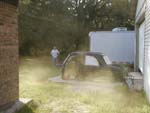
Dave stands clear of the paint fog
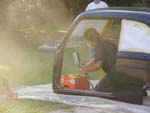
We painted some rivets to match
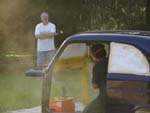
Dave creeps closer
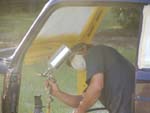
The yellow is looking good!
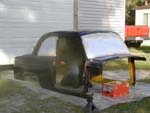
The yellow is almost done
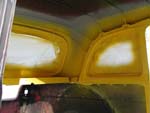
The yellow coat - Left rear qtr pic
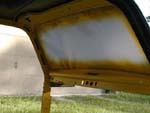
Yellow coat - front dash
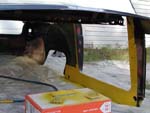
Yellow coat - peek under the front and the rivets
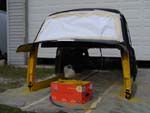
The front edges won't show, but we put on a coat of yellow to keep them from rusting
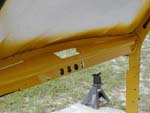
The final clear coat is on! The clear coated front dash
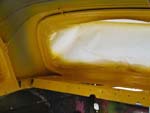
The yellow rear deck shines now!
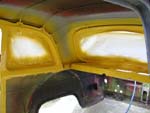
The windows look good too
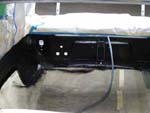
The next day, Allen came back and sprayed the interior of the trunk and rear quarter panels with black
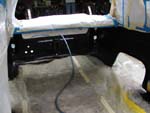
Most of the black will be covered by panels and the wheel tubs. Very little will show once the body is on the chassis.
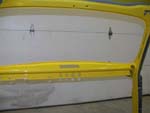
Once everything was dry, we pulled the tape and paper off. The fluorescent shop lighting makes the yellow look a little funny
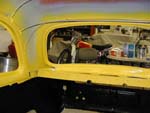
The rear window paint looks good too
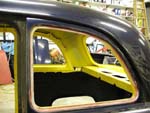
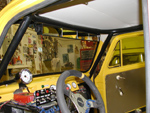
A picture taken through the side window
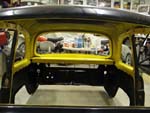
A picture taken through the front window
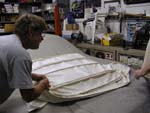
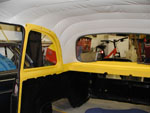
Dan Moon came out to the house and installed the headliner. Headliners in old cars, like this one, are vinyl held in place by metal bows and glue.(Sept., '09)
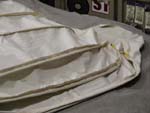
The fabric trimmed so the ends of the bows are exposed
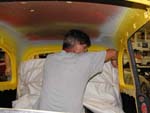
The bows are attached with screws, beginning at the rear
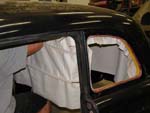
Working toward the front putting bows in place
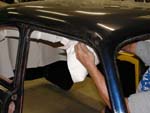
The last bow is put in place
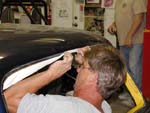
The headliner gets stretched for a test fit
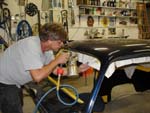
Time to apply the glue
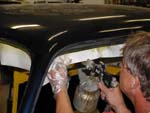
Dan sprays glue on the edges of the headliner
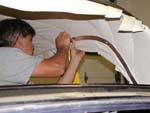
Since we are missing some original trim pieces, we made some custom ones out of aluminum sheet.
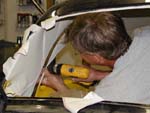
We'll take them back off and do some "fine tuning" to the pieces and paint them to match. The wrinkles will work out with some heat
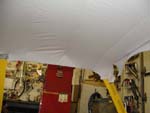
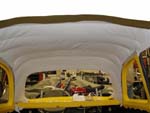
Anglia headliner stretched around the door and front window
Custom rear quarter trim pieces
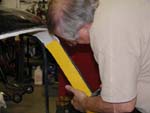
Dave installing the custom pillar trim piece
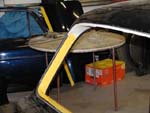
Custom front pillar trim piece
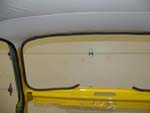
Anglia 100e front headliner from inside
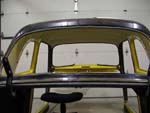
View of the Anglia headliner around the front window
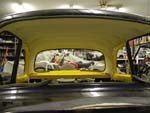
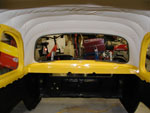
View of the Anglia headliner around the rear window
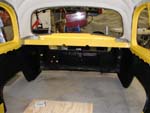
We fabricated a couple of trim strips for the rear quarter panel area
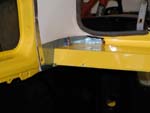
Close up of custom rear trim strips
The painted window trim is installed. The window will go in after the body is back on the frame
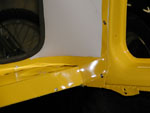
Close up of painted rear trim strips
Painted rear qtr panel trim strips
Before we put the body back on, J.T. Barron, the NHRA inspector, came out to certify the chassis.
The Sportsman class certification is good for a quickest permitted E.T. of 8.50 (qtr mile).
J. T. Barron, the NHRA inspector
The NHRA certification sticker
After our inspection, we relocated the fuel regulator and re-routed the fuel line under the car
Fuel lines
Re-located fuel pump and line
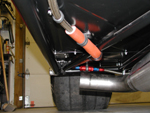
Fuel line routed under the car
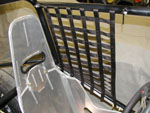
We had a custom window net made. The brackets for the top bar needed to be welded on before the body went on the frame. (Oct., '09)
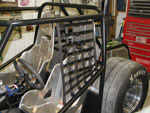
Window net exterior view
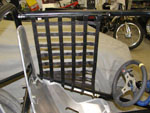
Window net interior view"
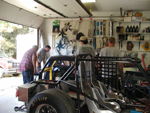
Our son, Mark, rounded up some help and we got the body back on the chassis. (Nov. '09)
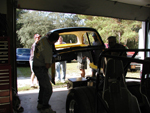
Carrying the body to the chassis
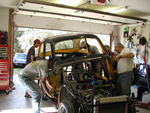
Fitting the body onto the chassis
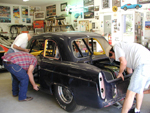
Fitting the frame bars into the holes in the body
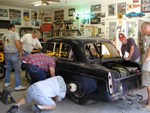
Checking the clearance
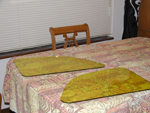
The old gassers had windows tinted to match their paint. We tinted the rear side windows yellow.
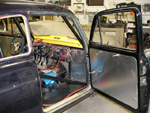
We put the doors on before welding the body in place, to make sure they were aligned properly
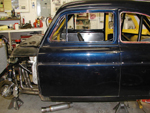
Checking drivers door alignment

Passenger door alignment
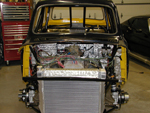
Finally, the frame and the body are one piece again! Welded and ready to to move the project along
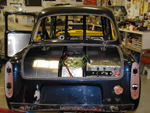
The wheel tubs are the first to be fitted in
Left rear aluminum floor pan in trunk
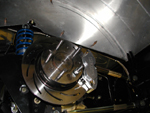
Underside of wheel tub
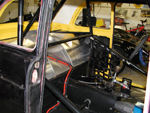
Interior shot of installed wheel tubs
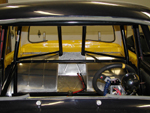
A pic of installed wheel tubs from the front
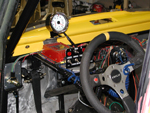
Just in case we decide to put the 4-speed back in, we installed our retro Sun Super Tach. We wired and installed the instrument panel in the Anglia
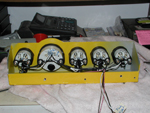
The instrument panel was fabricated from sheet metal and painted
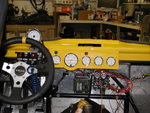
Instrument panel installed
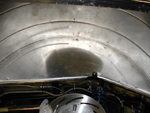
The wheel tubs were rolled and riveted. The next step was to secure the wheel tub edges to the inside of the fender.
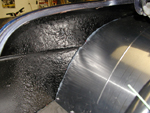
Wheel tube secured to fender with clear caulk
Underside of wheel tub with caulk
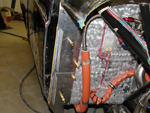
We wanted the front fenders mounted in a way that they could be removed easily. We fabricated some 90 degree flanges for the rear edges of the fenders and secured the front with a sub-frame.

Fender mounts riveted and "machine turned"
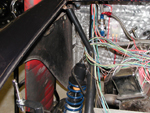
Fender bolted to flange
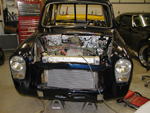
Trial fitting the "dog house" (front body work)
The original hood had a cut-out in it that didn't line up with the new engine placement. Once the front bodywork was attached we fitted our replacement hood. Thanks, Terry.
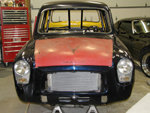
Front view of the new, old hood
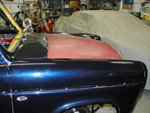
Side view of replacement hood
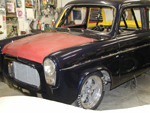
A 3 qtr view of the replacement hood
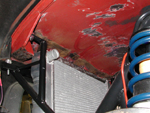
Sub-frame support for hood and front bodywork
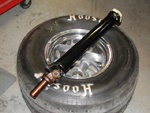
New driveshaft for the Anglia
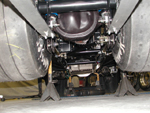
A snapshot of the differential and trans
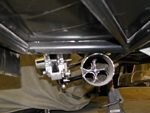
Looking in the end of the exhaust collector
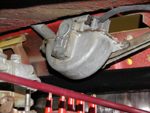
Since the car is street legal we installed the original vacuum wiper motor and wiper mechanism. Later on we converted to an electric motor

Santa brought an Anglia key fob for Christmas! (2008)
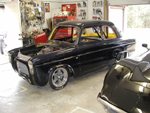
We took a couple of pictures of the car. A little more prep and we'll be ready to paint the exterior
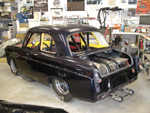
Rear 3 qtr view of the car
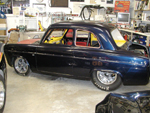
Side view of the car
Rear view into the toy box
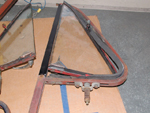
The last thing to do before we paint the exterior was to prep the wing vents and install new seals
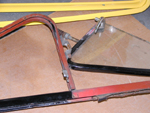
Getting wing vent ready for new seals & paint
Before painting, we decided to convert the wiper motor from the original vacuum one to an electric motor. We used a Bosch motor out of a late 70's Mercury Capri.
To fit the motor on, we pulled the knurled wiper knob off and trimmed it to fit in the stock triangular plate. We used a dzus fastener plate, trimmed round on one end, as a bracket fitted around
the output shaft. It goes between the two hold-down nuts. For the other end, I made a simple sheet metal bracket.
In the pictures below, you can see where they are welded to the original mounting arm. The end bracket is held to the Bosch bracket by a button-head screw and nut.
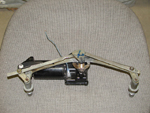
Bosch electric wiper motor
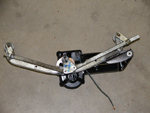
View of wiper motor with brackets welded on
The wiper motor mounted for a trial fit
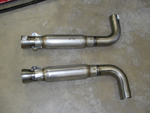
The exhaust pipes. The flange will get welded onto the end of the header. The muffler can be easily unbolted for use at the strip.
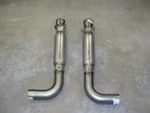
View 2 of the exhaust pipes
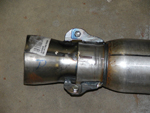
Flange end of the exhaust pipe
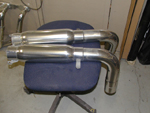
The exhaust is back from being ceramic coated. (Feb. 2010)
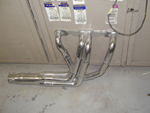
Right side header ceramic coated
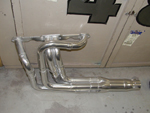
Left side header ceramic coated
The body is getting prepped for painting - the engine mockup removed and bodywork patched.
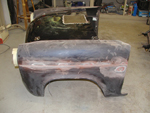
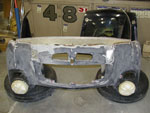
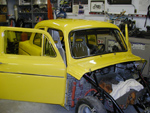
The "dog house" is pulled back off
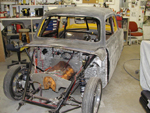
View of the front without the doghouse
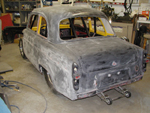
The rear body is sanded
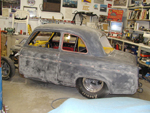
Side view car being sanded
Patching the trim-strip holes
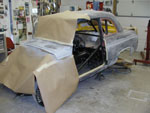
The under-side of the front body-work
Primered front body work and doors
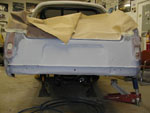
Primered rear
Primered trim holes
We painted the underside of the fenders, hood and trunk lid black.
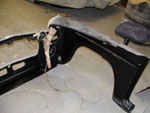
Painted underside of front body-work
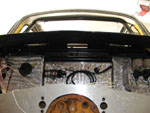
The underside of the front cowling
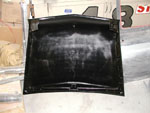
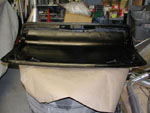
Painted underside of hood
We sanded the doors
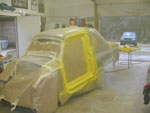
We taped the car to paint the door and trunk edges
Driver's door taped to paint the edges
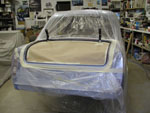
Rear taped to paint the trunk edges
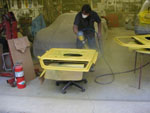
Allen Armstrong sprayed the doors. (March, 2010)
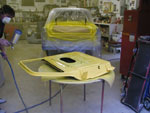
First coat of yellow paint on the doors
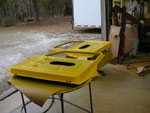
Doors with yellow paint and clear coat
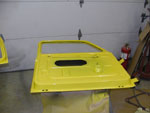
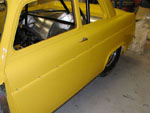
Close-up of painted door
We painted the door edges, so we could paint the exterior of the car with the doors on
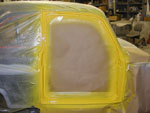
Passenger door edges painted & with clear coat
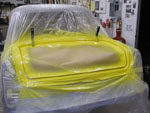
Painted trunk edges
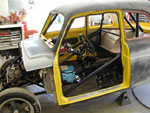
After the paint dried, we removed the tape & paper. Then we could put the trunk lid and doors back on
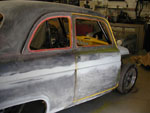
Door mounted on the passenger side
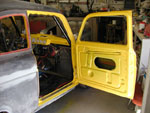
Interior of the passenger side door
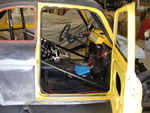
A 2nd picture of the passenger side door
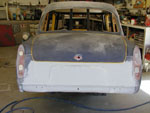
The trunk gap stands out in yellow
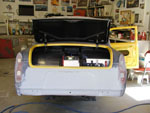
The trunk lid mounted and open
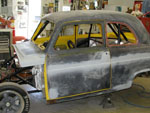
Driver's side door mounted
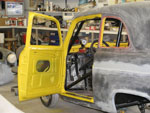
Open driver's door
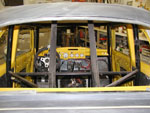
A view through the rear window
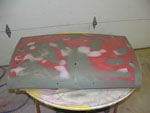
The sanded hood
We have a few trim pieces to paint before the car goes to the paint booth
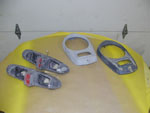
Headlight and tail light bezels
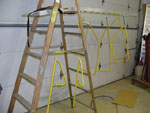
Painting the window trim
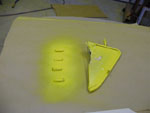
Taped & painted wing vent
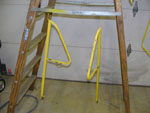
Painted wing vent trim
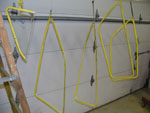
Drying window trim
Finished window trim
Due to the curvature of the body, we had to fabricate a trim piece to bridge the gap between the floor pan and the car body
Driver's side gap trim piece riveted in place
Pasenger side gap trim piece riveted on
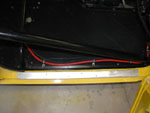
Passenger side gap trim piece
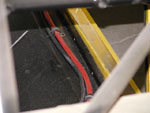
Close up view of the gap trim piece
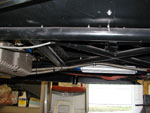
We welded a short piece of round stock to the frame to use as a jack point
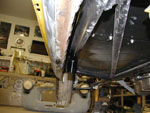
Close up of the new jack point
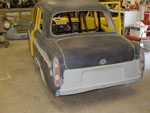
The car is ready and waiting for its turn in the paint booth
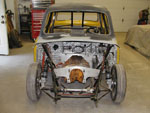
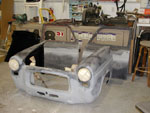
Front view of sanded car
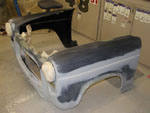
Sanded dog house
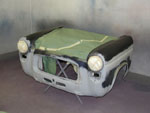
Bob Eubanks, the owner of Rusty Acres (Ford replacement parts), let us use his paint booth.
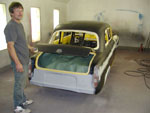
We dropped the car off and Allen stayed to tape it up
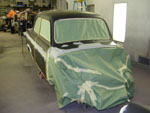
Front of car covered & taped
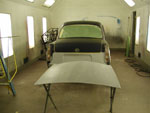
Hood and rear of car
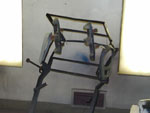
Trim pieces hung for painting
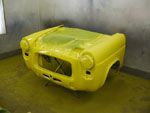
The first look at the new paint. It's definitely brighter in the paint booth now!
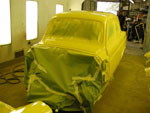
Front, painted, but still taped
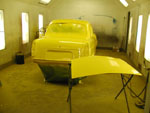
Wow! That's a lot of yellow
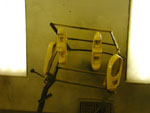
Painted trim pieces
We took the car home and parked it in the sun for a couple of pictures. It's definitely Screaming Yellow. (April, 2010)
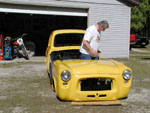
Dave set the hood on the dog house
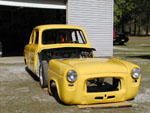
Painted car with the dog house set in front
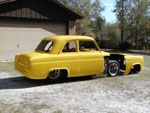
3/4 view of the painted car
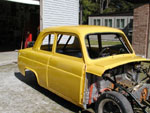
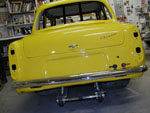
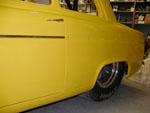
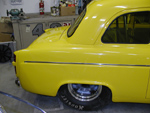
Side view of painted body
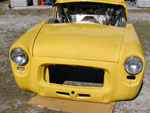
Closeup of the dog house and hood
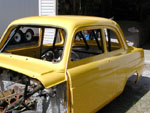
Pic of car and interior
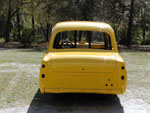
View of paint from the rear
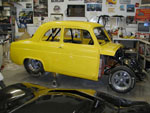
We cleaned the Anglia, put the wheels & wheelie bar back on
then the trunk handle, rear bumper, script and battery connectors were put on
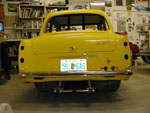
After 3 years, the license plate is on the car!
The stainless steel trim is held on with "buttons" riveted to the car.
Buttons riveted on and front trim piece on the Anglia
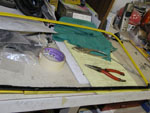
Side trim on the Anglia
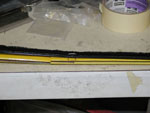
Side trim on the doghouse
Time to install the yellow tinted windows.
The window lace is stapled to the window trim for thee rollup windows.
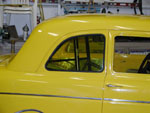
The rear quarter windows went in first.
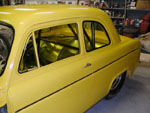
Then the side wing vents and rollup windows.
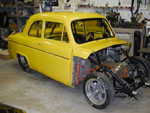
The yellow tint looks good!
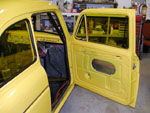
The door before installing the aluminum interior panel.
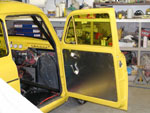
The door panel is complete with hardware.
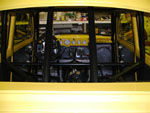
Pic thru the rear (minus glass)
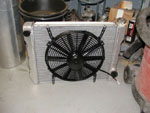
Dave put the fan on the radiator.
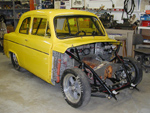
The windshield is the only glass we didn't tint yellow.
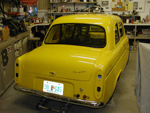
Looking good! Rear 3/4 shot
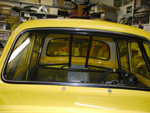
A close-up of the front window.
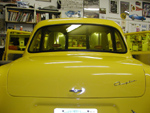
A close-up of the rear window.
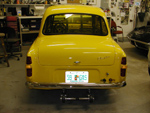
May, 2010 - tail light bezels and lenses installed
Side view of the rear tail lights
Side view with the tinted windows.
Trial fit of the seats
We put in a multi-panel rear view mirror.
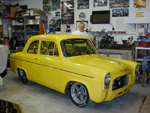
Dave and the Anglia with the full body.
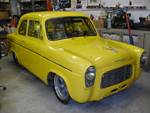
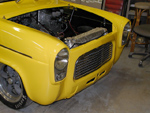
Car with the front grille.
The radiator installed
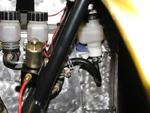
Clutch setup for the Jericho (in case we decide to use it).
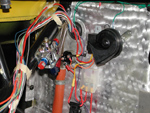
Fuel regulator & key switch wiring
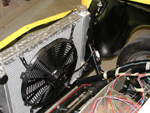
Radiator fan w/ weather pak connectors
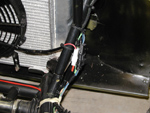
Front lighting weather pak connectors
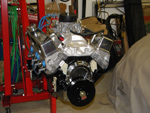
July, 2010 - It's a 396ci small block Chevy. Approx 500hp
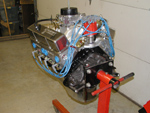
Rear of motor shows oil sending sensors
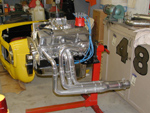
The motor with headers on the stand.
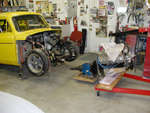
August, 2010 - the motor is ready to put in the Anglia.
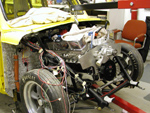
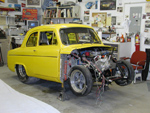
The motor is almost in!
The motor is bolted in place.
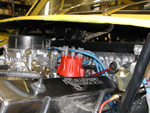
The distributor clears the wiper motor.
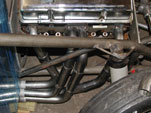
We installed the headers.
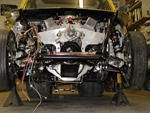
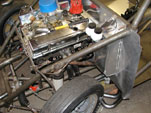
A low, front view.
The exhaust pipes.
We hooked up the throttle linkage.
Fitting the accessory drives.
A close-up of the belt drive setup.
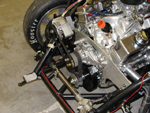
Top view of the belt drive setup
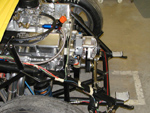
Alternator showing wire jumper
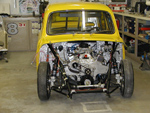
Front view of drives
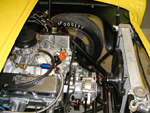
Radiator and fan mounted
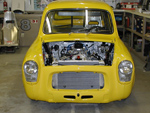
Then it was time to put the fenders back on...hopefully, for the last
time
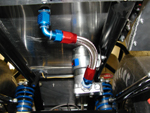
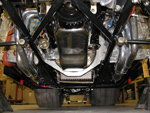
We found out that the trans cooler we had installed was inadequate, so we mounted a B&M plate style cooler under the car...the only place with space.
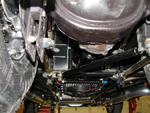
Rear view of trans cooler
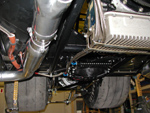
Front view of cooler with lines.
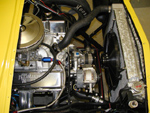
The motor installation is complete!
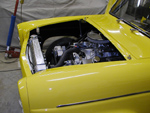
The Anglia ready for its 1st start-up.
August, 27, 2010 - We finished the radiator hoses and wiring odds & ends. Then we primed the oil system and went for start! The motor started right up!
We topped off the trans fluid and radiator; checked for leaks (tightened the trans cooler fittings), and set the timing.
All the electrical systems worked. No over-heating problems. The Anglia sounds great! A great day...after 3 years of hard work.
With smiles, we buttoned up the trans cover and installed the seats and seat belts. Check out the video on our Anglia Videos page.
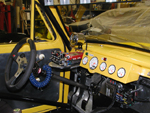
Interior view.
Our custom Anglia floor mats.
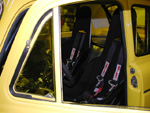
Seats and belts installed
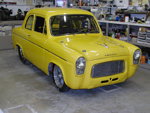
The Anglia is ready & waiting for its first drive.
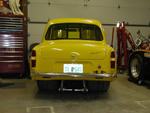
A rear shot of the Anglia gasser.
Sept. 04, 2010 we took the Anglia for it's 1st drive and it passed with flying colors! There is plenty of torque and the motor sounds great.
We're going to change out the springs and tweak a few things, but we are VERY pleased with the HP Edition Anglia. Check out the video on our Anglia Videos
page.
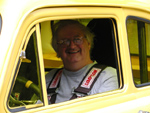
The builder after his first mile.
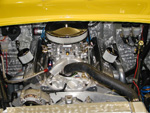
Oct., 2010 - We replaced the laser etched valve covers with
vintage Corvette ones.
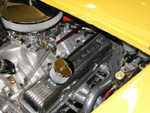
Corvette valve covers installed.
We took some pictures of the finished car.
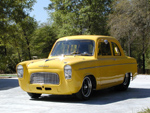
Driver's front 3/4 view
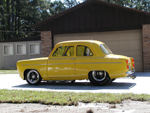
Driver's side view
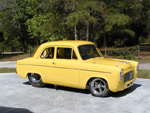
Passenger side view
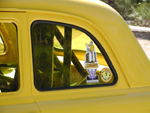
Window decals
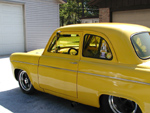
Driver's rear 3/4 view
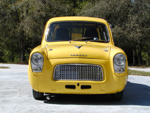
Front view
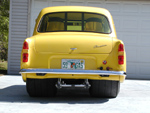
Rear view


