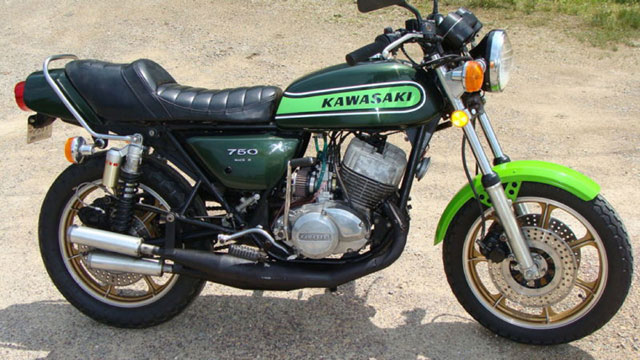
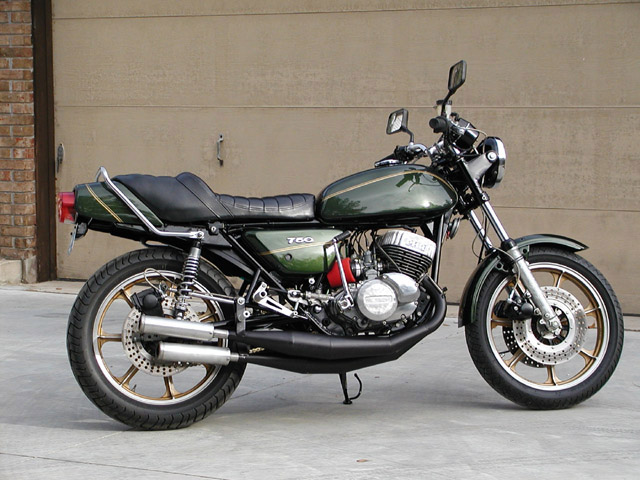
1974 Kawasaki 750 Triple Resto-Mod...
Before
After
The original bike - December, 2011
The "For Sale" ad picture
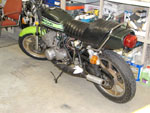
At home - the left side
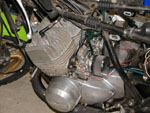
The left side of the engine
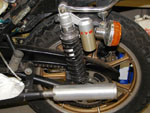
The left side rear wheel
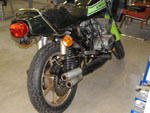
A right side rear picture
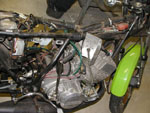
The right side of the engine
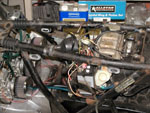
A close-up of the wiring
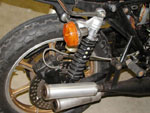
The right side rear wheel
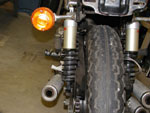
A picture from the rear
As we started to look closely at the bike, we found quite a bit of rust. We also found that changes were necessary to the bike because the basic geometry (with the Kenny Lawson parts)
was incorrect. The rear brake linkage hit the swing arm and pushed the brake on, every time you hit a bump.
Also, the length of the shocks and forks made the seat height about 34"...way too tall!
The dismantle begins
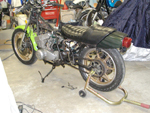
Removing the fuel & oiling systems
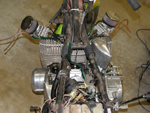
Sorting out carb cables
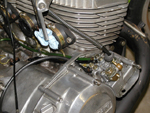
The oil injection pump
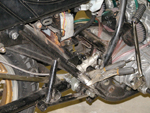
Working on placement of rear brake master
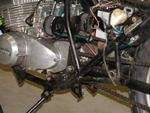
Checking shifter & rear set placement
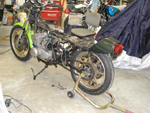
Checking measurement for new rear shocks
We removed the battery and wiring harness to engineer the correct setup for the bike.
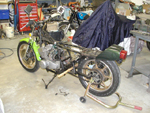
Working on rear set (pegs) placement
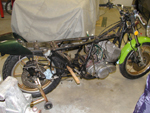
Bike - right side view
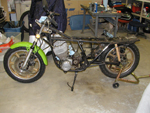
Checking shock length

Rear view of bike
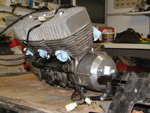
The motor is out and ready to be gone through.
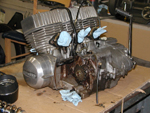
Rear of motor
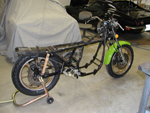
The right side - empty bike
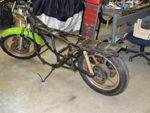
The left side - empty bike
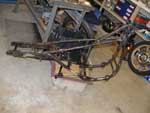
The frame and parts are ready to be powder coated - January, 2012
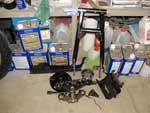
Parts to be powder coated
Waiting to get the frame back from the powder coater, we went through the motor.
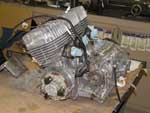
The engine with original ignition system
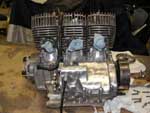
Dis-assembling the clutch
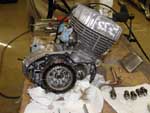
Checking the drive side systems
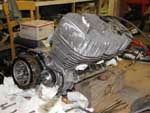
No noticible wear on drive line components
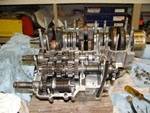
Gear box & Crank case components
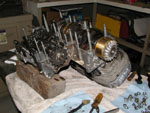
Magneto end of crankshaft & drive sprocket
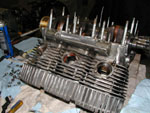
The exhaust ports
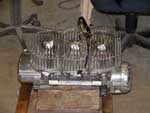
It looked pretty good. We cleaned it up, replaced seals, checked the gear box components and buttoned it back up.
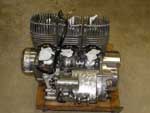
Engine re-assembled - rear
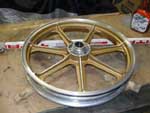
Then we cleaned the mag wheels, which are an upgrade from original spoke wheels.
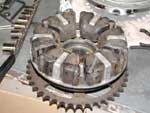
The rear hub cushions were okay so we cleaned and re-assembled it
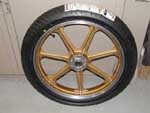
We mounted the new Battlax tires
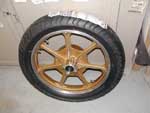
Right side - rear wheel with new tire
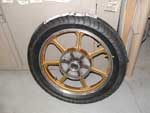
Left side - rear wheel with new tire
The frame is back from the powder coaters! - February, 2012
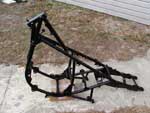
The frame with black powder coat
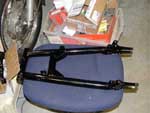
The swing arm - black powder coat
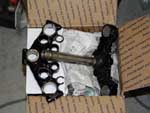
The triple clamp with black powder coat
Time to start putting the bike back together.
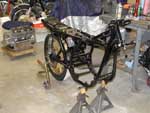
Ignition & electrical system back in place
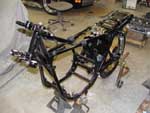
The triple clamps with new bearings on the frame
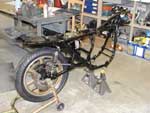
Rear wheel, new rear shocks & brake stay installed

A rear view of wheel with new tire
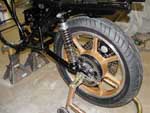
A close-up of rear sprocket drive hub installed
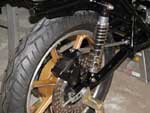
We're using Hagon gas shocks that are shorter and give the proper swing arm geometry
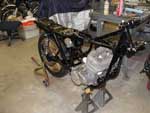
Time to put the motor back in!
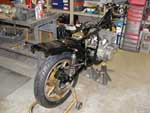
Rear view of motor in place
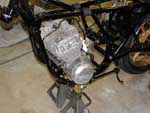
A close-up of motor in frame
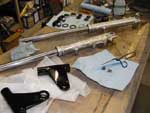
We polished the front forks & replaced the seals.
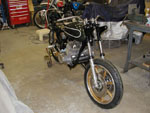
To lower the bike to the proper ride height & geometry, we installed the forks as far into the triple clamps as possible.
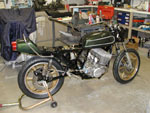
Working out brake linkage setup
As we started installing the brake linkage we discovered a slight problem.
Instead of compressing the master cylinder, pushing on the pedal produced a kink in the linkage rod.
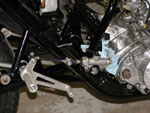
A close-up of the brake linkage
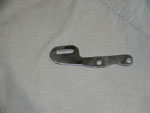
To stabilize the heim joint pivot, we made a slotted plate that mounted with the master cylinder.
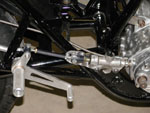
The plate & master cylinder are bolted on together using the same bolts/holes.
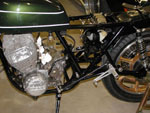
To give the brake linkage clearance, we installed the custom rear sets (pegs) in the location where the original passenger pegs were.
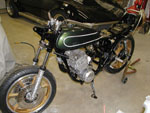
Brake line splitter & fork damper
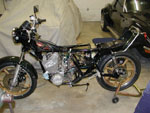
There was a lapse in my picture taking, while a lot of progress was being made.
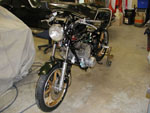
We assembled the headlight, gauges, ignition system, the carbs and the tail section.
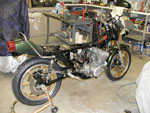
Rear view - the brake lines are on
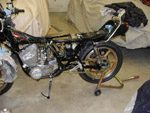
The chain is on
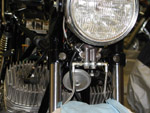
A close-up of the brake line splitter
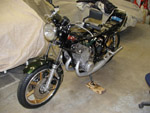
The exhaust pipes are on!
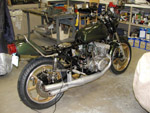
Gas tank on bike - white stripe gone
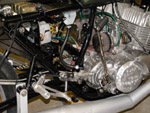
Close-up - right side with all lines hooked up
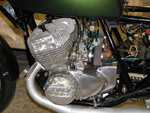
Close-up - left side with all lines hooked up
We replaced the original ignition with a modern Probe Engineering electronic race style system - April, 2012
The new ignition was very easy to setup and time. Thanks to Jim Hinshaw at Fast from the Past for his help with the ignition and other suggestions.
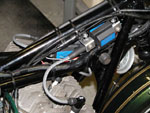
Right side - new coils to match the new ignition
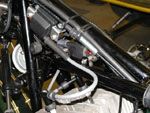
Coils with matching ignition wire & caps
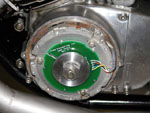
New ignition trigger

The new ignition installed
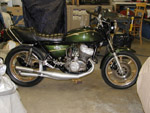
The gold striping looks good!
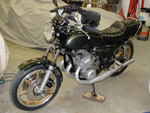
Ready for the first test ride
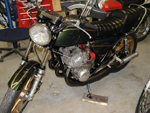
We decided to paint the pipes black
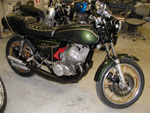
The right side with black pipes
